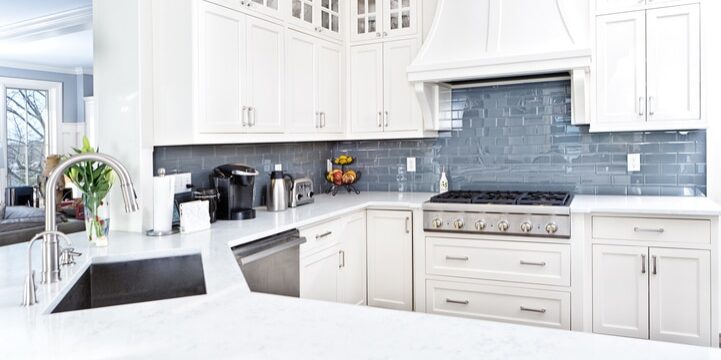
Steps for a Successful Quartz Countertop Installation

Quartz offers a durable and unique option for kitchen and bathroom countertops. Its non-porous and anti-bacterial properties make it particularly suitable for areas with water and food. At E&B Granite, we offer professional quartz countertop installation services. Here is what that process looks like:
Choose the Quartz Countertop Design
Quartz for countertops is created by combining natural ground quartz with resins and pigments and then shaping the material into slabs. Because quartz is human made, there is variation in color, texture, and pattern. As you’re contemplating what design you want, make sure the quartz fits with the rest of the room’s design, whether you want it to blend in well or stand out.
Natural shade options range from light to dark. Fabricators can also add colors like red, orange, blue, and green. Veins and flecks of varying thickness can run through the stone to create unique patterns. The veins and flecks can be like the base color or a complementary color to make the intricate design stand out. The color can also be uniform with no veins or flecks.
Your options for texture are matte and polished. Polished textures create a shiny, reflective surface, while a matte texture creates a non-reflective, softer surface. The countertop’s edging is also customizable; options include straight, curved, and rounded. To make choosing a design for your quartz countertop installation easier, use E&B Granite’s kitchen visualizer to see what the design will look like in a kitchen.
Measure and Prepare the Installation Area
If you are doing a remodel and not a new build, the old countertops will need to be removed. To do this in a sink area, turn off the water supply and disconnect the water supply lines and drainpipe. Remove the sink and use a prybar to lift and remove the countertop. Once the countertop is removed, make sure the base cabinets are level and sturdy. If the base cabinets are not level, there may be issues with pressure and balance. Any unlevel areas should be shaved down to make an even surface.
Measure the cabinet dimensions to make sure the quartz countertop you order will fit. When measuring, add extra space over the edge of the cabinets to allow room for adjustments and the edging overhang. Once you have the accurate measurements, the slab can be purchased from the fabricator either pre-cut if you don’t have cutting tools or uncut if you do.
Dry-fit and Cut the Quartz Slab
If you are cutting the quartz slab, you can dry-fit it to verify proper alignment before securing it. This job may require help from additional people, as the quartz slab will be heavy to lift. Place the slab onto the cabinets and draw lines on the front, side, and back of the slab to mark where the slab will be cut. If multiple slabs are needed for the countertop, make sure they will fit together with no uneven seams.
Remove the quartz slab from the cabinets and set it on a suitable cutting surface. Secure the slab in place to prevent movement while cutting. Make sure to cut in a well-ventilated area and wear safety goggles and a mask. Attach a diamond blade to the circular saw, then line up the outside edge of the blade with the outside edge of the marked cut line. Put one hand down to keep the slab steady, then slowly push the circular saw into the slab.
When the slab is completely cut, it can be dry-fit again to make sure the cuts are accurate. If there are any problem areas, remove the countertop and cut it again. Once you have confirmed that the cut slab fits, the sink can be installed.
Apply the Adhesive and Place the Countertop
Stick painter’s tape around the edge of the cabinets to protect it from the silicone adhesive. Any areas with little to no cabinet support may need to have a ledger added to help support the weight of the countertop. Working around the top of each cabinet, apply the silicone adhesive in beads. Add enough so the countertop will stick but not so much that it will overflow. Remove the painter’s tape and place the quartz countertop onto the cabinets. This needs to be done quickly to prevent the adhesive from drying out. With the countertop in place, you can secure it with clamps. Seal any gaps or seams with silicone caulk. Allow the adhesive to dry completely before using or cleaning the countertop.
Choose E&B Granite for Quartz Countertop Installation
The quartz countertop installation process is straightforward when completed by professionals with specialized tools like computer-controlled CNC saws. At E&B Granite, we can complete the entire process from start to finish, whether you need help with design, fabrication, or installation. Contact us today to discuss your countertop project.